


Halloween Night Haunted House Checklist: The Final Walkthrough
The day before Halloween is a good time to stop adding complicated new effects and run the haunt you have built. Put on the costumes, switch on the actual scene lighting, and walk the guest route from beginning to end. The useful questions are practical: can visitors understand where to go, can actors perform the cues, and can each scene reset?
This checklist focuses on the final rehearsal and opening routine. Use it alongside your attraction's established operating procedures, equipment instructions, and required inspections. Assign each section to a named crew member so an unfinished task has a clear owner.
1. Walk the guest route with the scenes operating
Start where visitors will queue and continue all the way through the exit. Check the route with the lighting, sound, and moving elements in their intended operating states. A path that looks clear under work lights can look different once the show begins.
- Confirm entrances, exits, and directional signs remain visible and accessible.
- Remove loose decorations, trailing fabric, packaging, and tools from the walking route.
- Check that cables and equipment are positioned and secured according to your operating plan.
- Look for places where a queue, photo stop, or slow-moving group could block another activity.
Have someone unfamiliar with the layout follow the route. Watch where they hesitate. Fix an unclear turn with a more readable layout or sign before relying on an actor to redirect every group.
2. Inspect costumes in the positions actors will use
Check the full costume on the performer, including footwear, hand coverage, mask placement, and any accessories. Have the actor repeat the exact turn, step, or hand movement planned for the scene. Confirm that nothing shifts into the field of view or trails into the route.
Keep a defined place for adjustments, drinking water, breaks, and relief performers. Use each product's care instructions; avoid last-minute improvisations with unfamiliar adhesives, solvents, or cleaning products. If a costume cannot be used as rehearsed, simplify the performance or use your prepared alternative.
3. Check the Ultimate Spectre lighting cycle
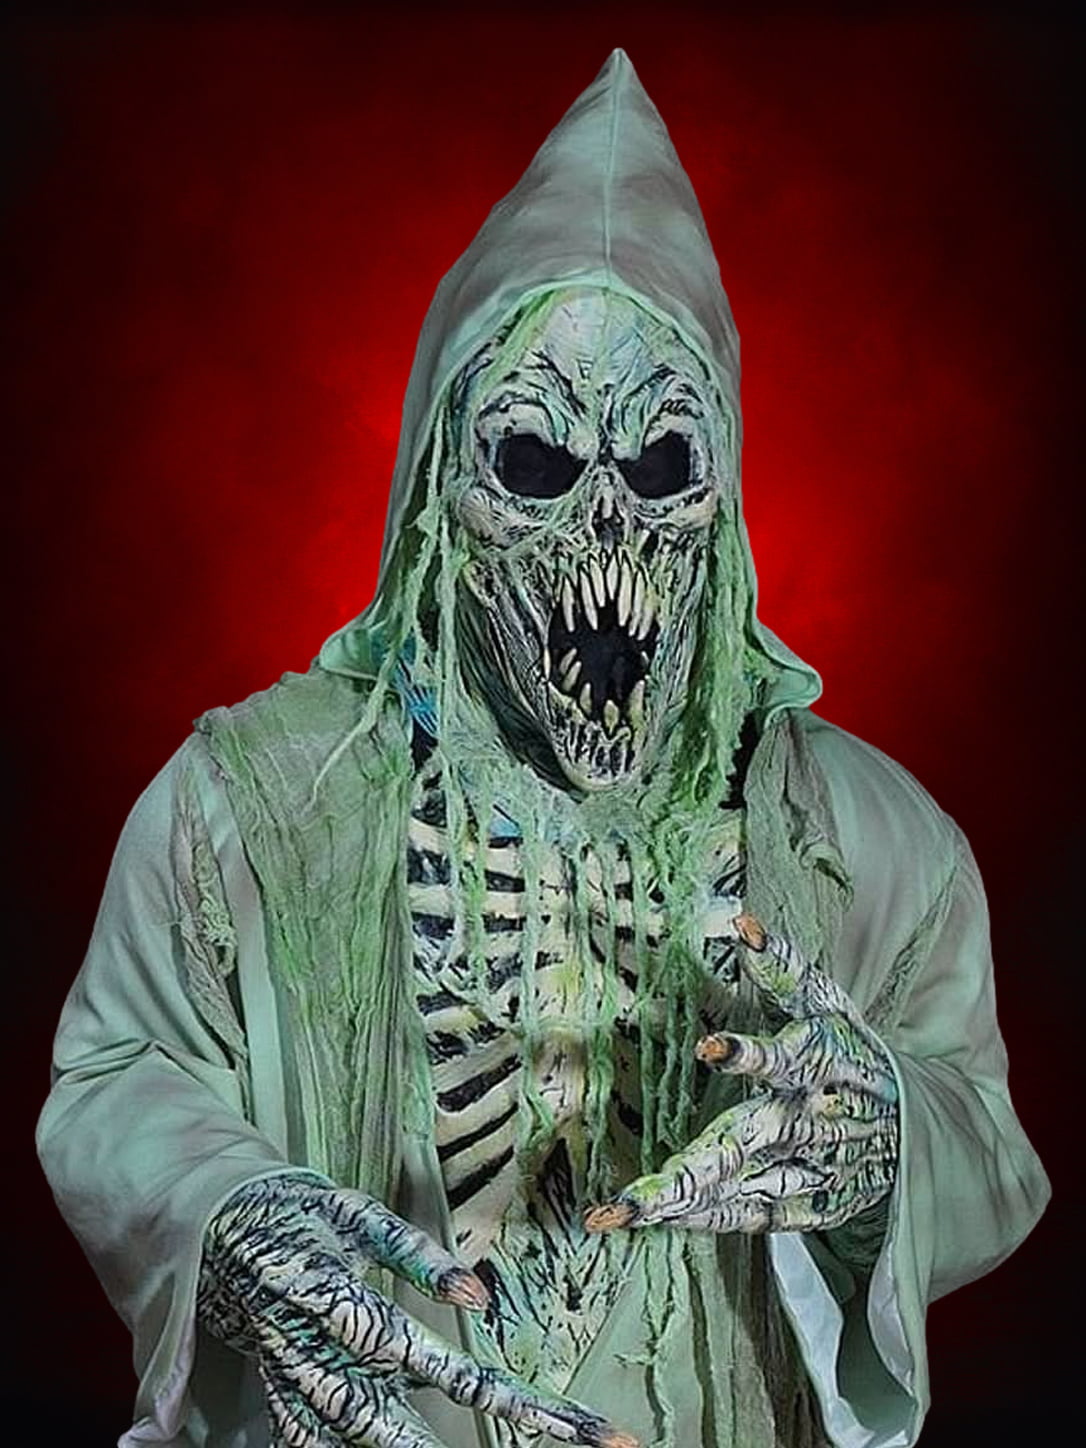
If your scene uses the Ultimate Spectre ghost costume, test the glow under the same conditions you will use during the event. Its glow paint absorbs white light and gives an afterglow described as approximately five minutes; it glows continuously while under UV light.
A white-light charging setup needs a repeatable routine between performances. A UV setup needs the costume positioned where the intended light reaches it. Walk through both the entrance and the reset to see whether the face, chest, and hands remain readable at the planned moment.
Follow the lighting equipment's instructions and keep the walking route visible. See our ghost costume lighting guide for scene examples. Do not assume a glow effect will remain equally bright throughout a long evening without checking it.
4. Run every sound and movement cue
Test each effect from the guest position. Confirm that the actor can recognize the cue and that the next room's audio does not overwhelm it. Check any moving scenic element with the clearance and operating procedure required for that equipment.
Give each scene a fallback for a missed cue or unavailable effect. A performer may be able to use a shorter visual reveal, or the scene may need to pause. Decide in advance who makes that call and how the crew communicates it.
For help separating atmosphere from the reveal, use our three-cue haunted house sound plan. Keep the final setup within what the team has practiced.
5. Rehearse a full group from ready to ready
Send a volunteer group through at a normal pace, then repeat with a group that pauses. Include the return to starting positions. A scene is not finished when the scare ends; it is finished when the guests have moved onward and the next group can enter as planned.
- Check the actor's starting position and reveal cue.
- Confirm the group can continue without crossing the performance area.
- Time the complete return and costume check.
- Confirm the crew's ready and pause signals.
If the next group arrives before the actor is ready, adjust the entry spacing or simplify the scene. Our guide to scare timing and resets provides a simple sequence you can put on a cue card.
6. Brief the people working outside the scenes
The person welcoming visitors, managing the queue, or guiding a photo spot needs the same basic operating information as the actors. Review the route, the pause procedure, the location of the designated lead, and how to request assistance.
If you offer a planned character photo, keep its waiting area separate from the haunt entrance. Make it clear how visitors can participate and where they leave afterward. Confirm any event hours and visitor instructions displayed on your own signs match the plan for the evening.
7. Make a short final decision list
| Check | What to record |
|---|---|
| Guest route | Checked by whom; unresolved obstacles |
| Costumes and actors | Ready performers; relief plan; adjustments |
| Lighting and effects | Working cues; paused effects; fallback |
| Group entry | Ready signal; pause signal; responsible lead |
| Final rehearsal | Changes made; anything requiring another run |
Resolve the remaining issues before opening the affected area. After the first groups, ask the crew for one specific observation and make any needed adjustment through your normal pause process. A readable scene and a rehearsed team give your Halloween-night characters room to perform.


Leave a comment